I’m going to talk about my Sony camera equipment as a unit stills photographer and my thoughts on its use for professional photography in general.
Updated: 04 September 2025 – Lens set and Mac upgrades and additions.
I’ve got to say this is a post I’ve resisted writing for a while. Mainly because I’m firmly in the camp that it’s not the gear, it’s the photographer who captures the moment. Not what equipment they own.
I’m passionate about delivering fantastic final images rather than obsessing over the gear I used to capture them.
Having said that, I also believe that if you’re going to be a unit stills photographer, you need to have the right tools for the job. You also need to have sufficient backup and redundancy with your equipment. After all, there’s a (not so) fine line between delivering for your clients and “winging it”.
So that’s the reason for this post. Colleagues and prospective clients have asked me: “What kit do you have?” Or “do you have the right kit?” So, to answer those questions, this post is about my equipment. I’ll also add my reasoning behind these choices.
Furthermore, I hope this post helps emerging unit stills and professional photographers with their equipment decisions.
Yes I shoot with Sony, but Sony have not sponsored this post or myself. I’m simply writing about the tools I chose and why I did so. Much of which will hopefully resonate with users of other brands too.
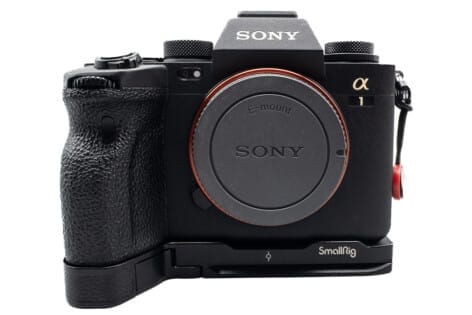
Cameras – 2 x Sony A1
In my opinion you need at least two camera bodies. But why is that and why did I choose a pair of Sony A1’s?
- I believe you need at least two cameras for redundancy and backup. The reality is that any gear can get damaged or malfunction.
- This applies to any professional genre where the image isn’t repeatable (or embarrassing if you fail).
- That said, my Sony Alpha gear has never let me down. It’s all well built to professional standards and is very reliable.
- Furthermore, my default shooting style is to use two bodies side by side. Each with a different lens mounted.
- On a film set you have to shoot with silent shutter on a mirrorless camera or use an unwieldy sound deadening blimp if using a dSLR.
- However, whilst all mirrorless cameras have a silent mode, using this can introduce two more problems: rolling shutter and flicker banding. Both of these issues must be avoided on film and TV sets at all costs!
- Without getting too technical, cameras such as the Sony A1 largely overcome these problems by having a “stacked sensor”.
- Ideally your camera bodies will be a matching pair. Two bodies which can be set up identically are optimal because you can set them up to function in exactly the same way. This is great for what we call “muscle memory” in the trade.
- The Sony A1 cameras excel at delivering high resolution 50mp images with great colour rendition and dynamic range. They also perform great at high ISO in low light without resulting in too much noise in the images.
Lens Choices
These are my lens choices and the reasons for choosing them:
Zoom Lenses
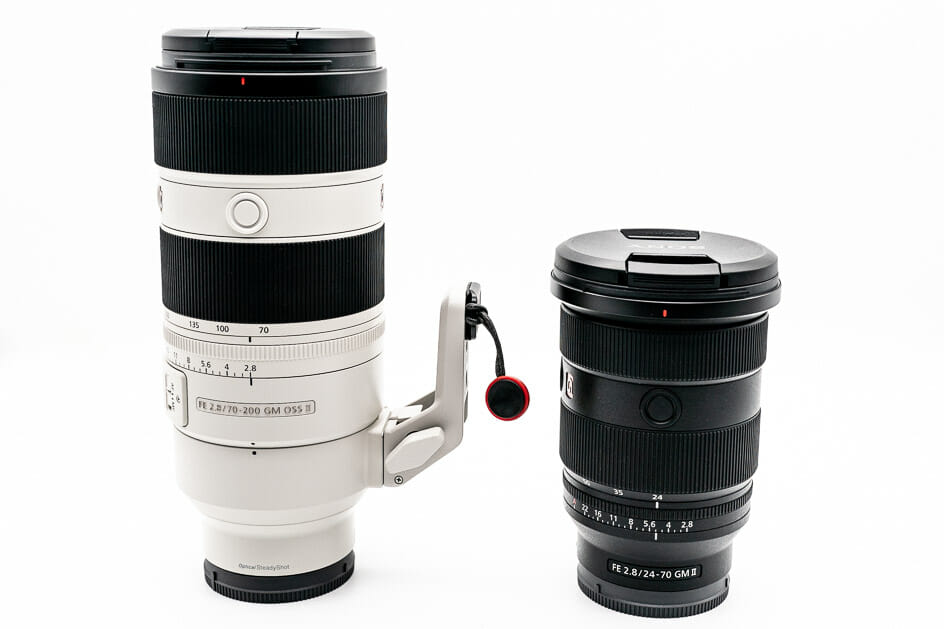
These are my primary lenses, which are zooms:
- Sony FE 24-70mm f2.8 GM II
- Sony FE 70-200mm f2.8 GM II
- Sony 1.4x TC – Teleconverter
- For unit stills photography I think you need two bodies and fast zoom lenses as you cannot “zoom with your feet” on set most of the time.
- Rather you tuck in where you can and keep out of the way!
- Therefore, the Sony 24-70mm and 70-200mm f2.8 GM II are my workhorse lenses and will cover 99% of what I need to do on set.
- Each of these zooms are mounted on a separate body and carried together.
- I appreciate their relative compactness and light weight compared to other brands, especially when you’re carrying them all day!
- I also carry the Sony 1.4x teleconverter, which turns my 70-200mm f2.8 into a 98-280mm f4 equivalent lens.
- This is useful for those occasions where I need a bit more telephoto reach on set, without needing to buy or carry an additional longer lens.
Prime Lenses
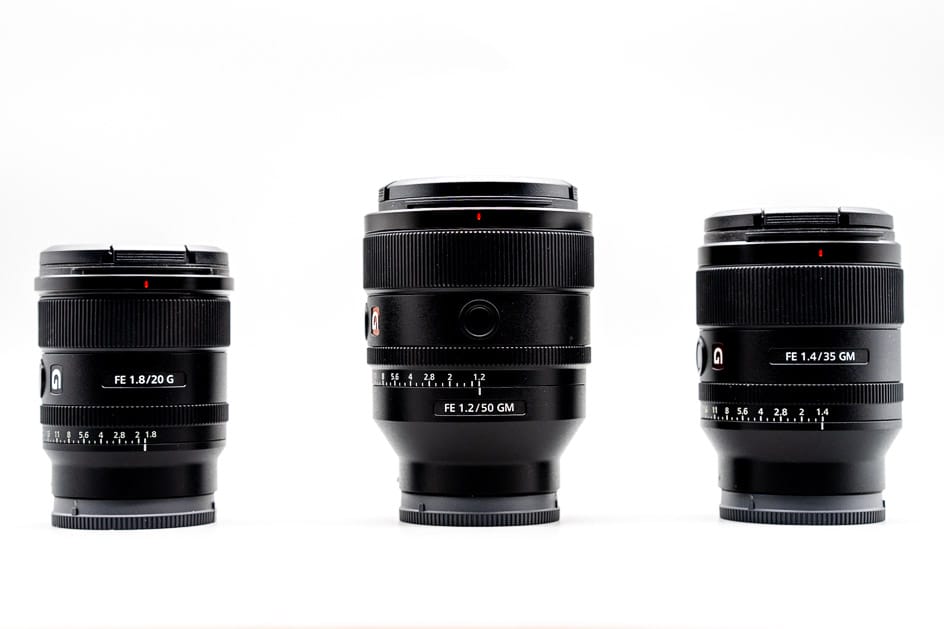
I also use these prime lenses and take them to all jobs:
- Sony FE 20mm f1.8 G
- Sony FE 35mm f1.4 GM
- Sony 50mm f1.2 GM
- Sony 135mm f1.8GM
Why do I need these primes lenses as well as the zooms and why did I choose these ones?
- The 20mm is useful occasionally when I need something wider than 24mm to get the shot.
- The 35mm and 50mm act as a backup to my primary zoom lenses.
- The faster f1.8, f1.4 and f1.2 apertures are extremely useful in ultra low light situations.
- Fast prime lenses facilitate getting more creative with shallow depth of field once the vital shots are in the bag.
- Fast primes can “add a little extra” such as bokeh for environmental portraits and headshots.
- The 50mm f1.2 GM and 135mm f1.8GM are especially magical in how they render people.
Redundancy, Backup and Accessories
Having covered the equipment side of things we also need to consider redundancy, backup and essential accessories. Here’s what I also take on shoots:
- 8 x OEM Sony batteries.
- 12 x SD cards plus 4 x CF Express Type A cards.
- 2 x battery chargers – one OEM that’s mains powered and one third party that’s USB powered.
- Cleaning kit including sensor and lens cleaning tools.
- If I’m on set for more than one day I also take my laptop and an external SSD hard drive. My laptop is a 14″ M3 Max MacBook Pro which is great for editing and culling. It also has a very accurate colour calibrated screen.I save images to both the internal and external drive each day. If I have an internet connection the images are additionally backed up to the cloud. (I use Backblaze for cloud backup). Back at base I have a 27″ Eizo monitor, the ultimate for colour accuracy when doing critical edits.
- Additional backup is provided by shooting RAW to both card slots on the camera.
- A sturdy tripod is sometimes essential. I have settled on top of the range Benro equipment. Their gear is a great bang for the buck.
- Dual Harness/Strap – As a minimum I’m carrying two bodies and lenses all day on set. I save my back and shoulders whilst not missing a shot by using a Black Rapid Dual Camera Harness.
- I use a variety of camera bags and roller cases to carry the appropriate amount of equipment, which varies from job to job.
- Clothing – I have a variety of gear to cater for warm, cold and wet weather. Don’t draw attention to yourself by wearing bright colours. TOP TIP: I wear black to blend into the background whilst on set.
Lighting – Portraits, Actor Headshots, Posters and Specials
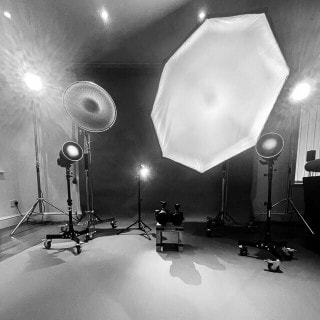
In addition to until stills photography and BTS shots you might also be asked to provide key art/specials such as portraits and actor headshots for film posters and the like. You’re gonna need some battery operated portable studio strobes and lighting equipment before saying yes to that!
I think battery powered kit is important these days, you don’t want to be tripping over power cables or finding there isn’t nearby mains power on location. Here’s what I use, it’s all Godox equipment:
- Godox AD600 Pro x 2
- Godox AD200 Pro x 2
- Godox AD200 x 2
- Godox V1s x 1
- Godox XPro II S triggers x 2
- Potable backgrounds, stands and soft boxes – numerous.
- Tethering software and cables for the MacBook.
- My trusty small van to carry such equipment to jobs when needed!
Why I use Sony
I’ve talked about Sony equipment and why I use it as a unit stills photographer. I also mentioned the wider genre of photographing professionally. I appreciate that not everybody can afford the equipment I have. Nor do you need it all at first. We all have to start somewhere, right?
What I especially like about Sony is the cost effective price of used equipment and their older models. This makes it a great brand to start and then grow with. There’s a ton of reasonably priced third party lens options for the Sony mount too. Remember, you’re buying into a system and Sony is perhaps the best brand to invest in for your future.
Other Brands
Of course there are other brands. I’ve used several different brands over the years including Canon, Nikon, Leica and Olympus. They are all great. I chose Sony for the reasons mentioned in this post. At the end of the day there’s no such thing as a bad camera system these days!
That said, for unit stills photography, I think you need a mirrorless system rather than traditional dSLR’s as a minimum, for the silent shutter alone.
However, if my thoughts on the advantages of stacked sensors for this kind of work resonate with you, check out the used prices for the Sony A9 or A9II. I think you’ll be pleasantly surprised! I happily used A9II’s before upgrading to my current A1 cameras.
Key Takeaway
I think the key takeaway is to ensure you have at least some backup kit when starting out. I know that can be a chicken and egg situation at first. But please ensure that you charge enough to live on with enough profit factored in to build your kit for what you need in the longer term, and to cover replacement, upgrades and repairs. After all, it’s a business and you must price yourself accordingly.
In the meantime, don’t wing it by over promising at the risk of under delivering on jobs that you’re not yet experienced or equipped enough to deliver. Start small, you’ll get there in the end!
Final Thought – Hire Equipment!
Here’s a final thought. When starting out you can always hire equipment on a per job basis until you’ve built your own kit to an optimum level.
Learn More
You can read my thoughts about how to become a unit stills photographer here. Alternatively, you can learn more about my work as a unit stills photographer here and my work as a behind the scenes photographer here.
Related Topics
You might be interested in reading more of my photography tutorials and tips here or learning about my corporate and events photography here.
Share this post: